
 English
  English
Views: 66 Author: Site Editor Publish Time: 2019-03-28 Origin: Site
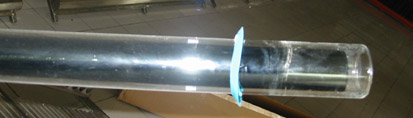
1.18 vacuum collector tubes absorb 99.99% from environment.
2.Stainless steel tank outside and inside with 55 mm of thermal isolating material to keep the heat with a capacity of 139 liters.
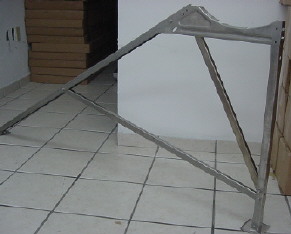
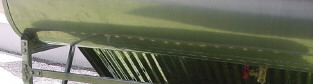
3.Structural supporting marks and stainless steel reflectors.

The solar system consists in 4 boxes with the following components
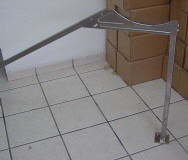
Box 1: Stainless steel mark
Box 2: Stainless steel tank
Box 3: Stainless steel sun reflectors
Box 4: vacuum tubes
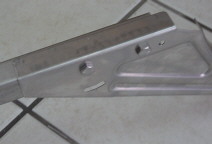
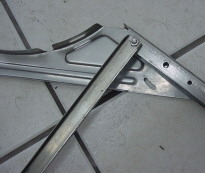
Box 1: Mark: Split the components for size order. There are right side and left side components
The components 1 have to be orientated with the 7 holes looking inside of the mark (to install the sun reflectors).
Quantity | Description | Component | Quantity | Description | Component |
2 | Bar of 147 cm | #1 | 2 | Bar of 136 cm | #7 |
2 | Bar of 72 cm | #2 | 1 | Base to fix the tubes | #8 |
4 | Base for the mark | #3 | 18 | Plastic base to fix the tubes | #9 |
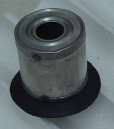
2 | Tank supports | #4 | 1 | Plug | #10 |
2 | Bar of 69 cm | #5 | 18 | Black rings | #11 |
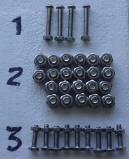
2 | Bar of 103 cm | #6 | 1 | Bolts and nuts |

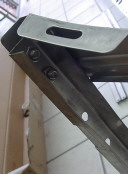
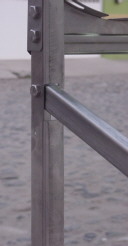
Step 1: assembly the mark
A: Assembly component number 3 with the components number 1 and 2
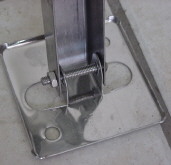

B: Assembly component number 4 with components number 1 and 2

t
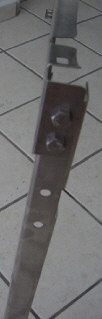
C: Assembly components number 5 and 6 with the components 1 and 2

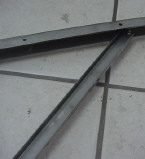
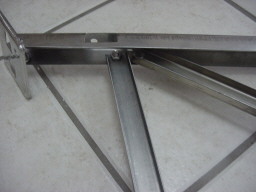
D: Assembly components 7 and components 2
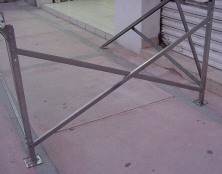

E: Assembly component 8 and components 1


Step 2. Install the reflecting components
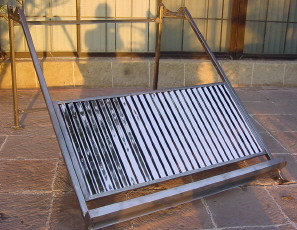

Use bolts sort 3
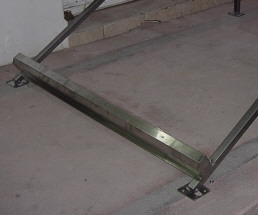
Step 3. Install the tanks into their supports

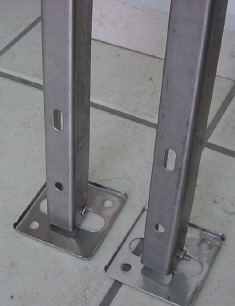
Step 4. Position of the system
Be sure that all the bolts are tightened and the system is totally rigid. Now you can orient the system. The best direction is south. Avoid shadows on the system.
The system requires a solid base, because the system weight is 170 Kg when it’s full of water. Be sure that the system is horizontal. Fix the 4 bases of the system
Step 5. Collecting tubes installation
Take a tube out of the box carefully
Take out the tube approx 20 cm. Apply the liquid concentrated soap on the top of the tube (10 cm approx) and into the white hole into the tank
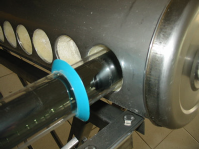

Insert carefully the tube into the hole of the tank and turn slowly in the watch direction, until the tube gets inside, approx 5 cm and introduce it turning into watch opposite direction until it gets strongly fixed into its base.
Move the black component to seal the tube with the tank
Put some Teflon at the tube where the hot water goes out (downside of the tank) and install the spherical key
Introduce water into the tank to check if it doesn’t escape. Then fill it until ¾ of the total.
If the system is empty and the sun warms it for more than 30 minutes, don’t fill it because the cold water could break the tubes because of the drastic temperature change. Wait until night to fill it.
If you have purchased low pressure solar water heater or solar hot water and have questions about the above installation process, you are welcome to consult us or email me .
CONNECT US:
Tel: 0086-519-85083393
Mobile: 13701509293
Inquiry E-Mail: sunpower@sunpower-solar.com
Web: www.sunpower-solar.com


